I have had a fascination with chocolate for a very long time. I am not a chocolatier but for the last 15 years I have been making chocolates for petits fours as well as using chocolate widely in desserts. My knowledge has grown over the years through experimenting, quite extensive research (and a little consumption!). Books, the internet, talking to other chefs and suppliers have all helped but perhaps the steepest learning curve was about 10 years ago when I did quite a lot of flavour development work for a chocolate manufacturer. The mysteries of tempering, moulding, enrobing, hand dipping, the creation of centres and the use of inclusions, oils and extracts were all slowly revealed. I was taking this information back to my own kitchen and adapting it to suit a very simple set up with very limited equipment. The only thing slightly out of the ordinary you really need to make chocolates is a good digital thermometer. Everything else is pretty standard, bowls, whisks, knives, trays, mixing spoons , etc.
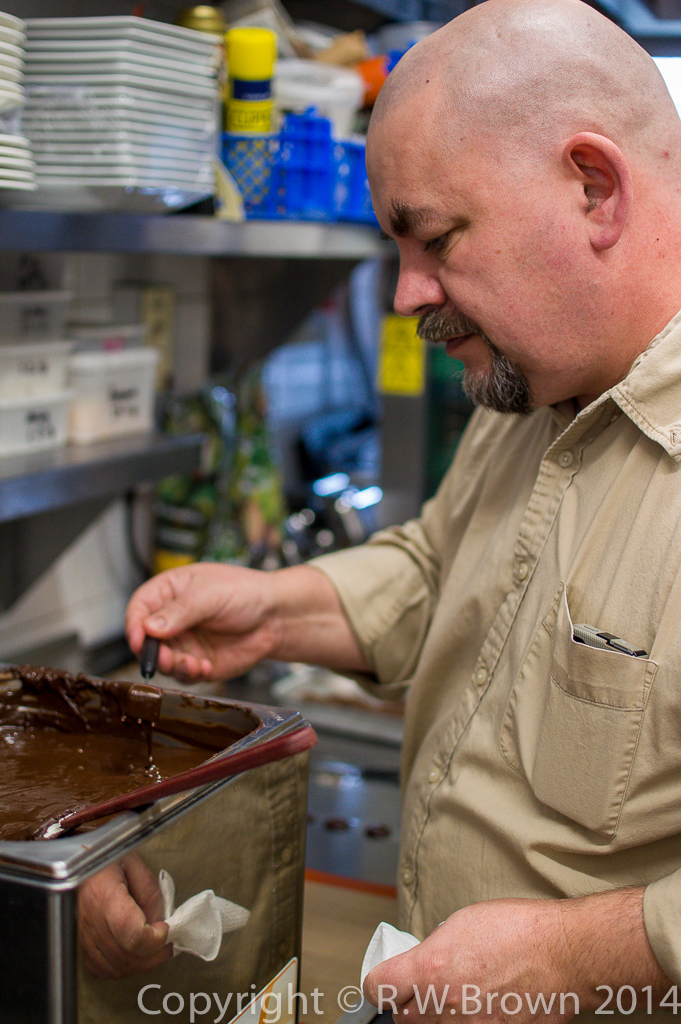
I recently spent the day in the kitchen with 2009 MasterChef winner Mat Follas for a bit of a chocolate workshop. Mat was planning a Valentines pop-up for 80 people and was intending to make a range of chocolates for petits fours. 800 pieces was mentioned! We looked at the basics of tempering chocolate where, through a series of heating and cooling processes, you control the crystalline structure of the chocolate to produce a finished result that has a good snap and a good shine. We also looked at ganaches and caramels. We made moulded chocolates, dipped chocolates and ganache sandwiches.


TEMPERING
WHITE MELT/HEAT TO 45°c – COOL TO 27°c – RE HEAT TO 28/29°c
MILK MELT/HEAT TO 45°c – COOL TO 27°c – RE HEAT TO 29/30°c
DARK MELT/HEAT TO 45/50°c – COOL TO 28°c – RE HEAT TO 31/32°c
(Check with manufacturers for specific temperatures)
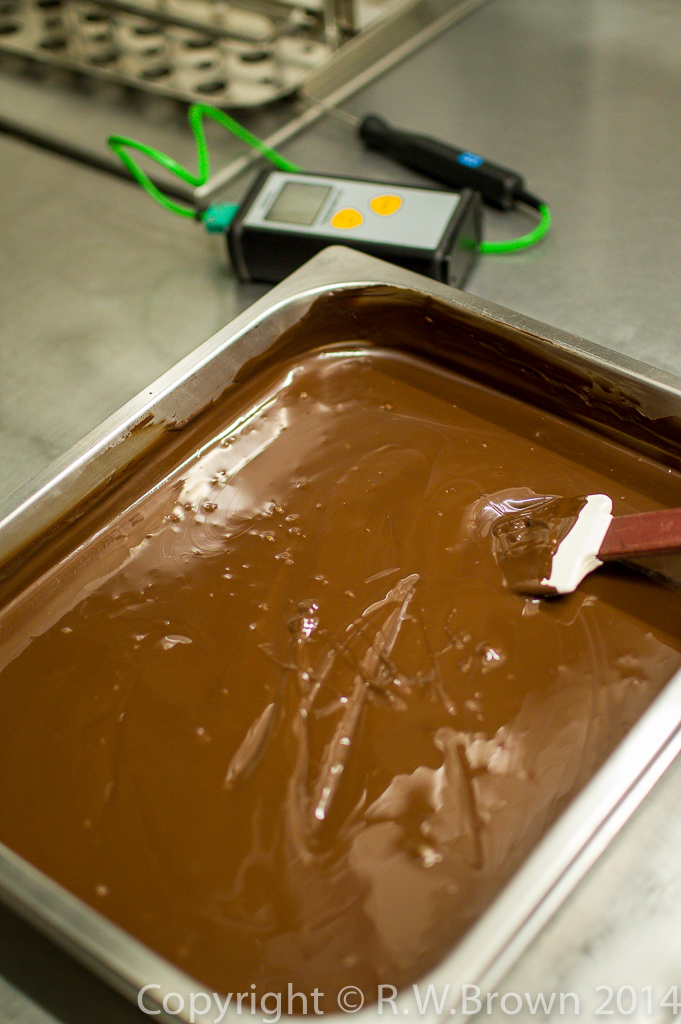
I tend to work with around 1.5 kilos of chocolate.at a time. A larger mass tends to stay at working temperature for longer. If you have water baths in the kitchen they are useful for melting the chocolate overnight, either in a bain-marie sat in the bath or in vacuum bags. I would double bag the chocolate for security! I also use the water bath to hold the tempered chocolate whilst dipping.
The best method I have found for small quantities of chocolate is to melt the chocolate on low settings in the microwave and then to cool it by placing the bowl of melted chocolate in a tray of cold water and stirring. Then use the microwave to heat back up to the working temperature.
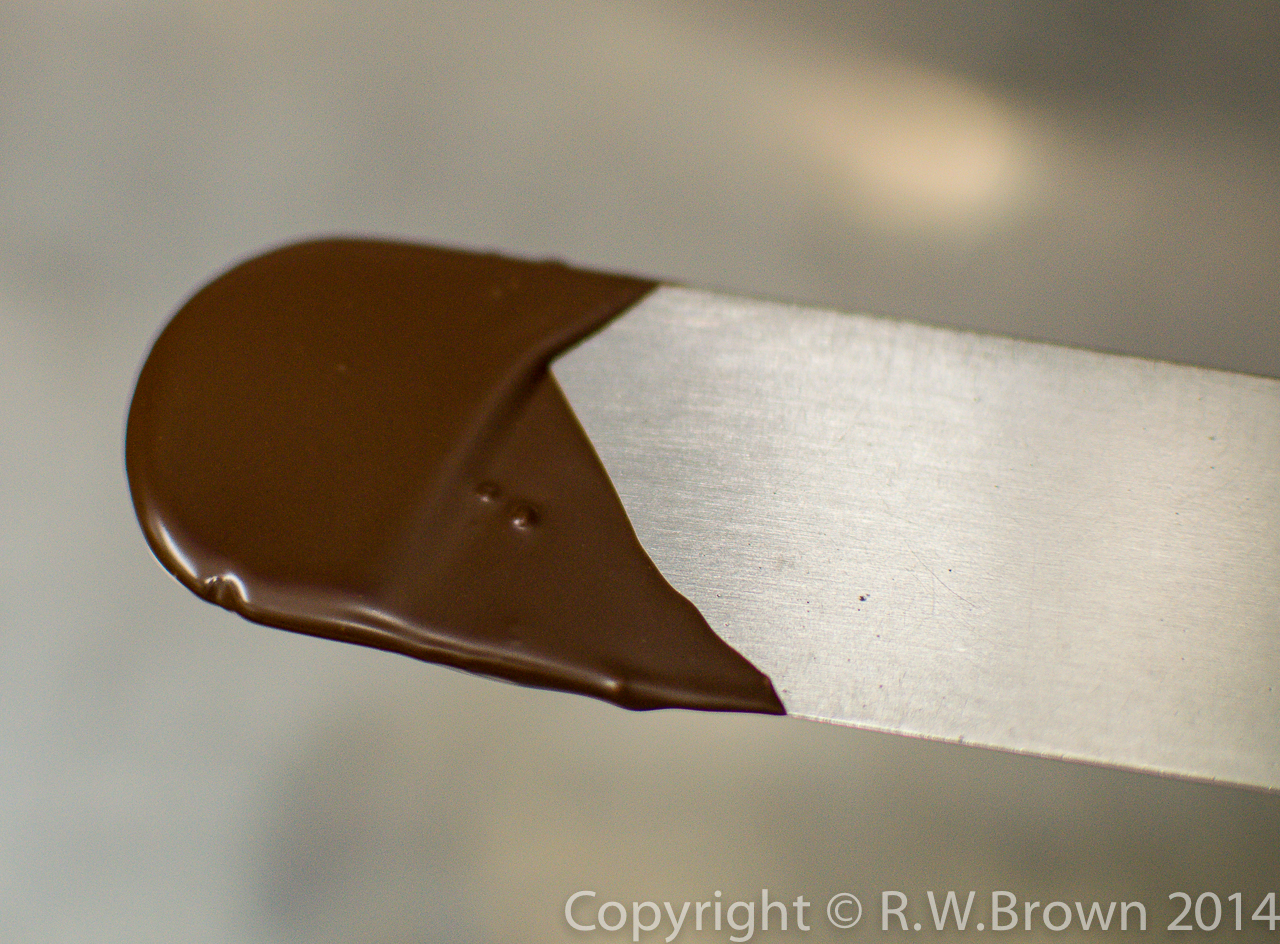
Testing the chocolate for temper is easy, just dip in the tip of a palette knife and leave for 3-4 minutes. In this time the chocolate should be almost set and should have no streaks in it.
Once tempered, place the bowl of chocolate in a deep tray of water at the working temperature. This will help the chocolate to remain workable for longer. Ideally you want to be working in a room at around 20-23°c, with somewhere cooler to place chocolates to crystallise. Avoid putting chocolates in a cold fridge as this can lead to condensation forming on the surface when you take them out. Mat and I had the oven and the hot cupboard on full on a cold day to warm the kitchen up!
MUSCOVADO GANACHE
This is a reasonably firm-set ganache that can be cut with a warm dry knife, in the absence of a guitar cutter! I have found that a cheese wire works reasonably well for cutting firm caramels and ganaches, necessity being the mother of all invention……
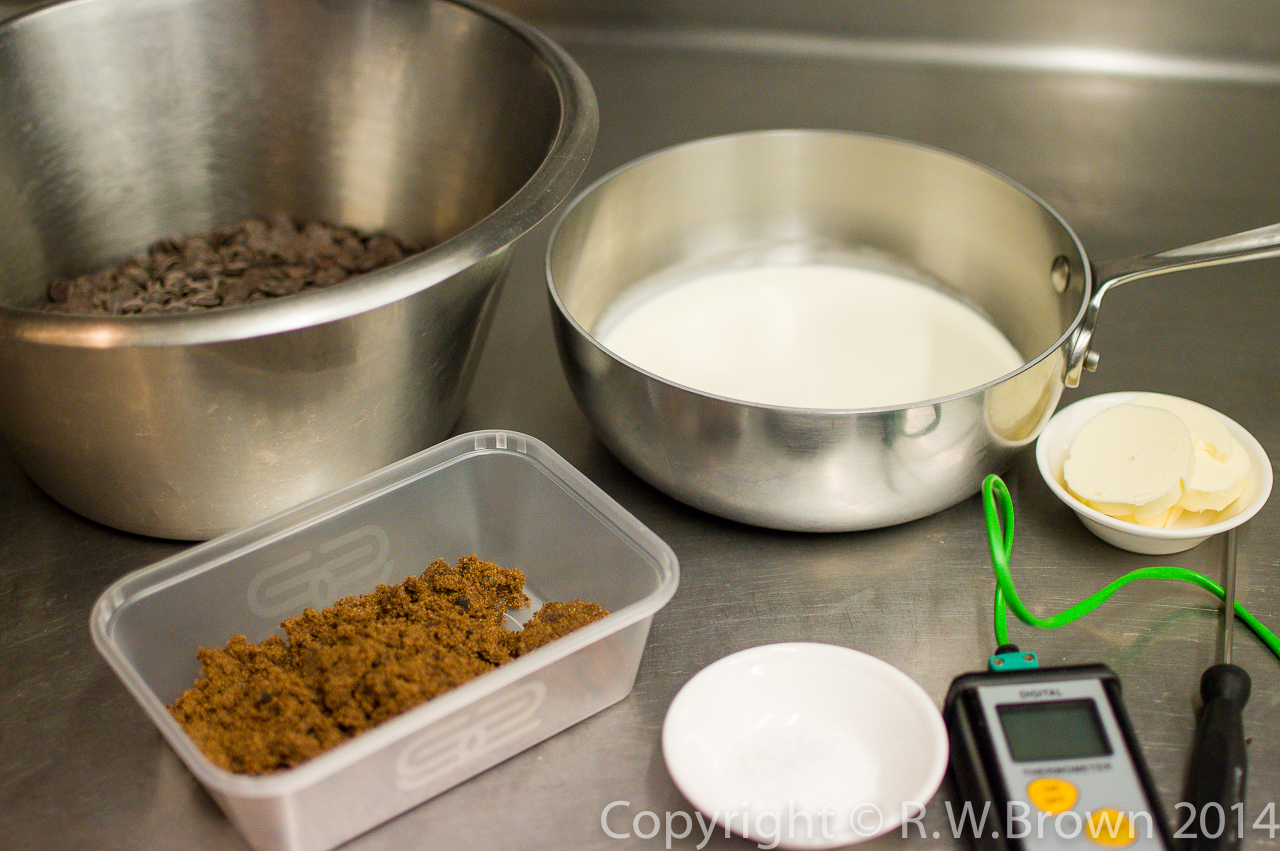
600g 70% dark chocolate
450g double cream
110g dark Muscovado sugar
5g Maldon sea salt
50g unsalted butter
30g good quality dark rum
On the day Mat and I made the ganache by hand, generally I find it is better to learn to do something by hand, you get a better feel for the process, the textures, colours and smells this way. Once you have gained an understanding then start to take advantage of the technology available.
I use a Thermomix for making virtually all my ganaches as well as fresh nut pastes and pralines.
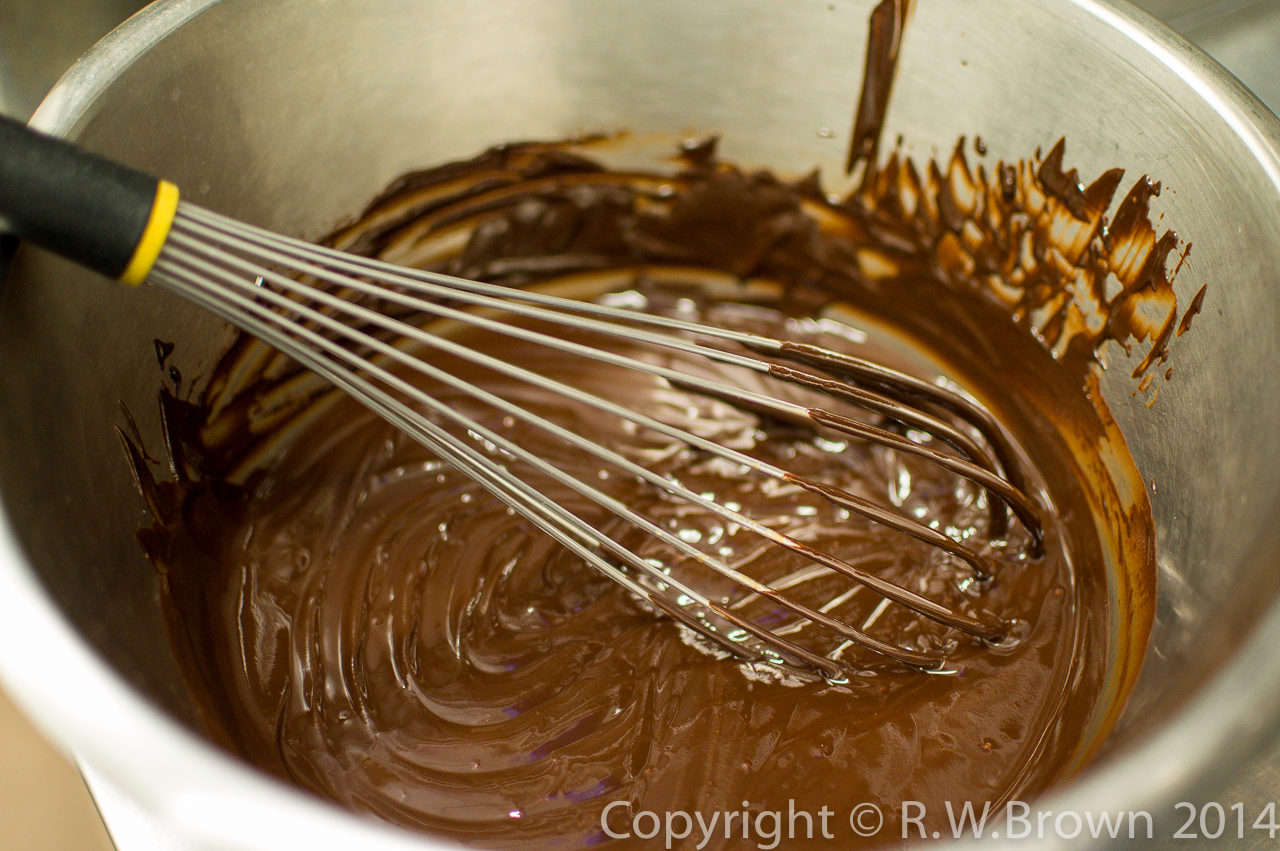
Melt the chocolate, ensuring the temperature doesn’t exceed 50?. Combine the cream, butter, salt and sugar in a pan and heat just to a simmer. Whisk the cream mix into the melted chocolate. Don’t worry if the mix appears to split initially; this is the mix changing from a fat-based emulsion to a water-based emulsion and the mix will re-emulsify as you add more of the liquid.
(The link at the end contains a fuller clear explanation as to what happens when water is added to chocolate.)
Once all the liquid is incorporated check the temperature of the mix. If it has dropped below 45°c warm it back up on a low setting in the microwave. Now cool the ganache by placing the bowl in a tray of cold water and stirring gently but constantly. Cool to 30°c and then transfer to a piping bag or spread into tray or frame. If using a frame place it on an acetate sheet, alternatively line a tray with cling film. Spraying the tray with an aerosol grease spray will help the cling film to adhere to the tray. This technique of tempering the ganache is one I found in the Ramon Morató book Chocolate. This is one of the most influential books on chocolate I have read. The technique gives a much more even set to the ganache.
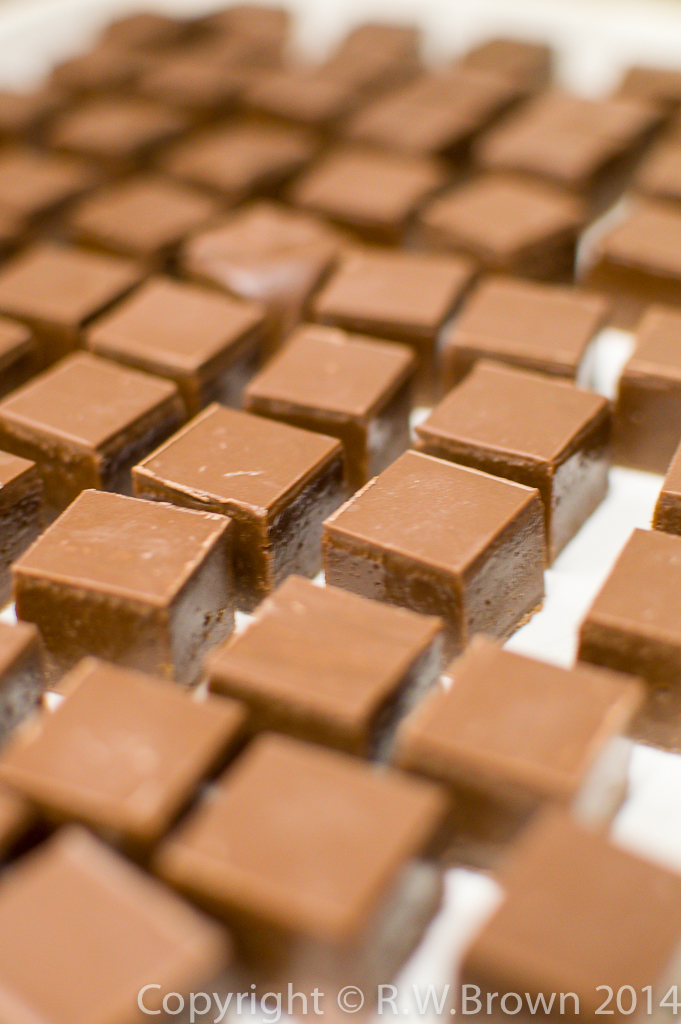
Allow the ganache to set somewhere cool, ideally over night. The ganache can be cut with a warm dry knife. One of the issues I have had with hand-dipping chocolates is that the centres need to be fairly firm to avoid them sinking into the prongs of the dipping fork and becoming stuck. The way I have got around this problem is to spread a thin layer of untempered chocolate onto both sides of the centre and allow it to set before cutting. For really soft centres, chill slightly before trying to cut, but be sure to let the centres come fully back to room temperature before dipping them.
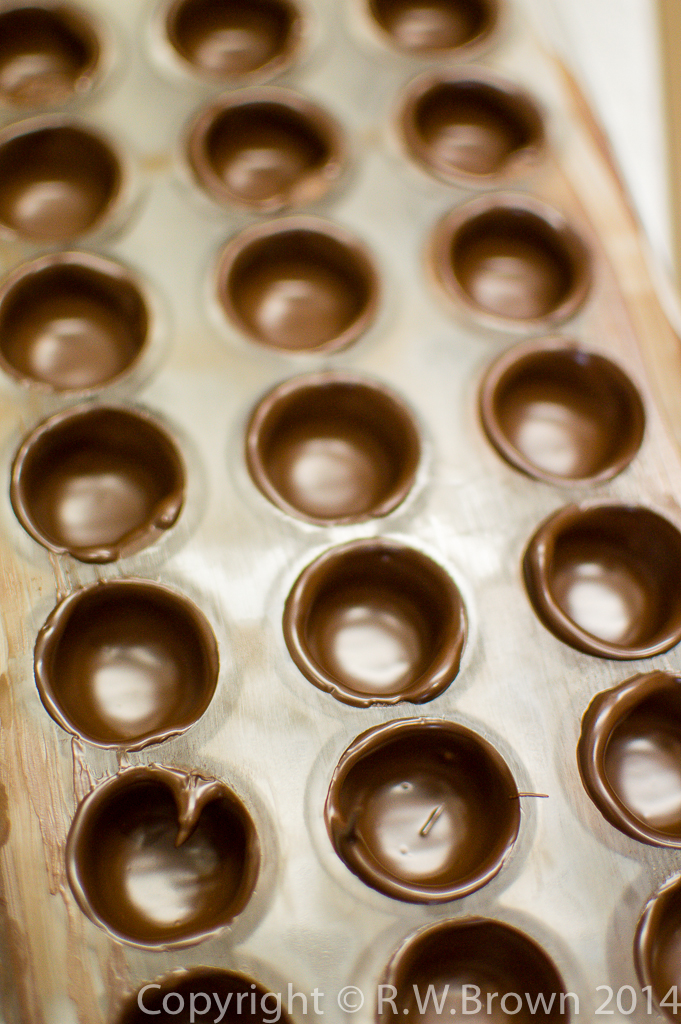
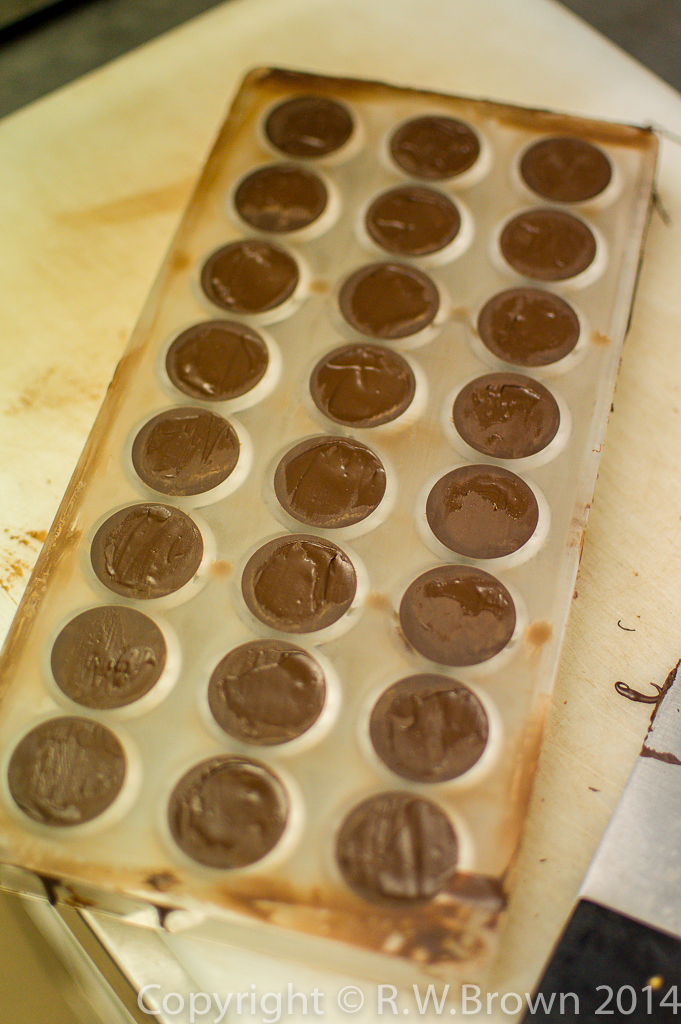
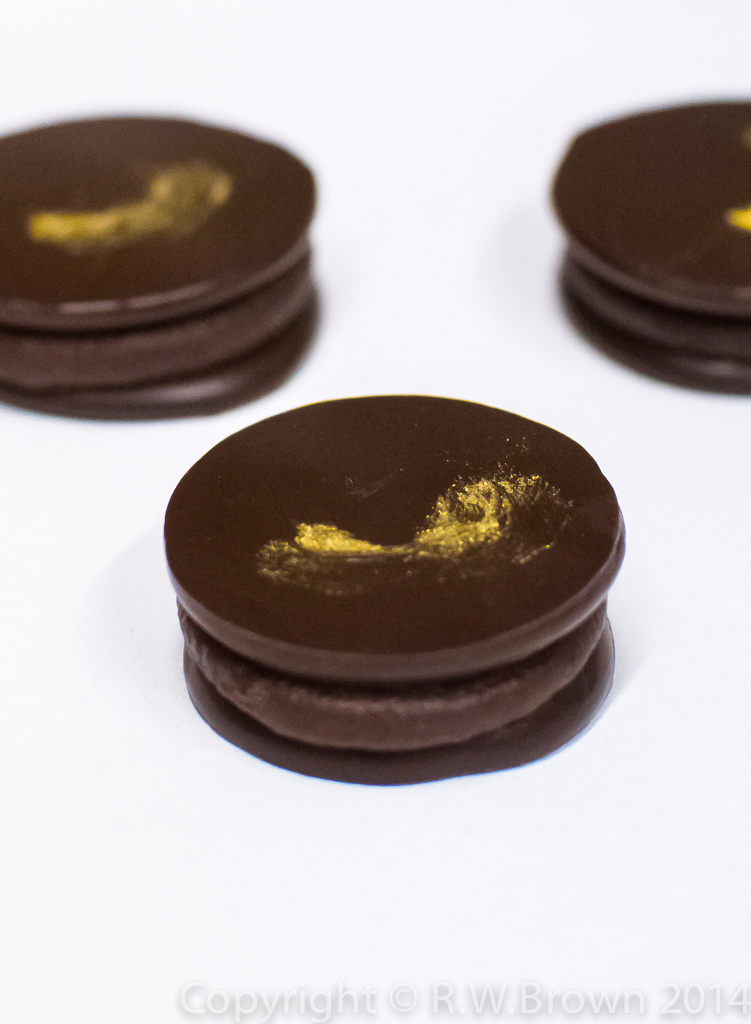
This ganache can also be used to fill moulded chocolate shells or, for a really easy but stylish chocolate, pipe dots of the ganache onto discs of tempered chocolate and sandwich them together.
To make the discs, polish an acetate sheet with a soft clean cloth and pipe buttons of tempered chocolate onto the sheet. Have the sheet on a board or tray so you can lift it up and tap on the bench to settle and spread the buttons into thin discs. Allow to crystallise fully and then sandwich with the ganache.
Dipping chocolates allows you to produce a great product without the need for moulds or any special equipment. A purpose-designed dipping fork and a couple of Silpat non-stick mats are a good investment however. Just drop the chocolate centres one at a time into the bowl of tempered chocolate, lift out with the dipping fork and tap the fork to remove excess chocolate. Wipe the fork on the side of the bowl or even better have a stiff wire fixed over the centre of the bowl so the excess falls directly back into the tempered mass. Slide the chocolates off the fork onto the silpat mat to set. If you make sure that the chocolate is slightly over the end of the fork it should slide off easily. If they stick, pressing down on the fork and twisting slightly will usually release them.
If the chocolate starts to thicken as it cools just give it a few seconds in the microwave on a medium setting and stir well. Just be careful not to over heat. It’s worth checking the temper with a palette knife each time you do this.
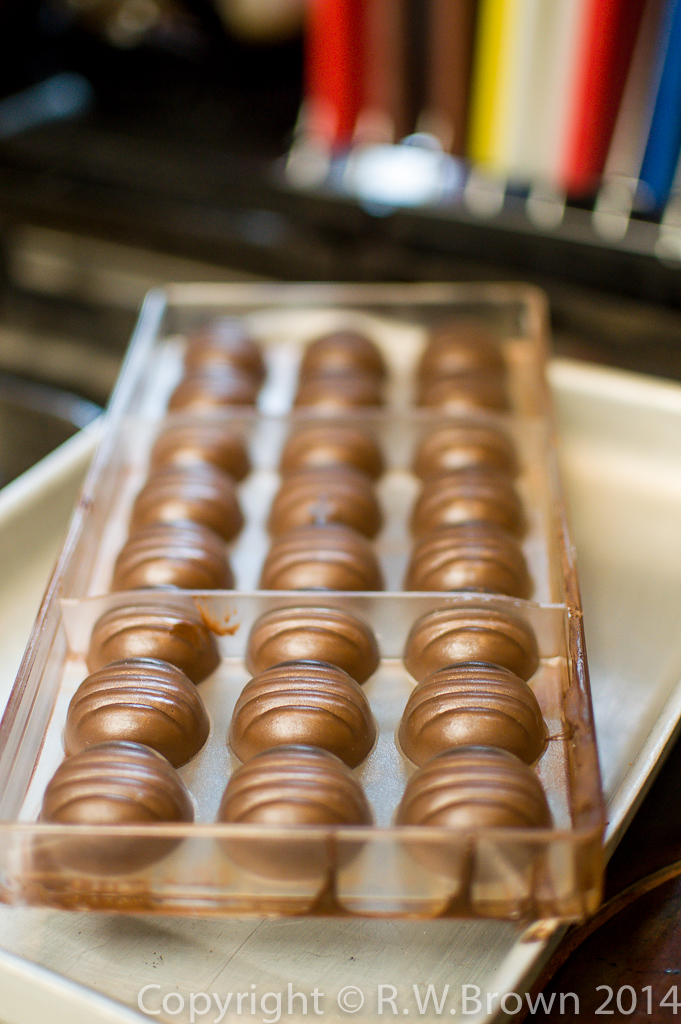
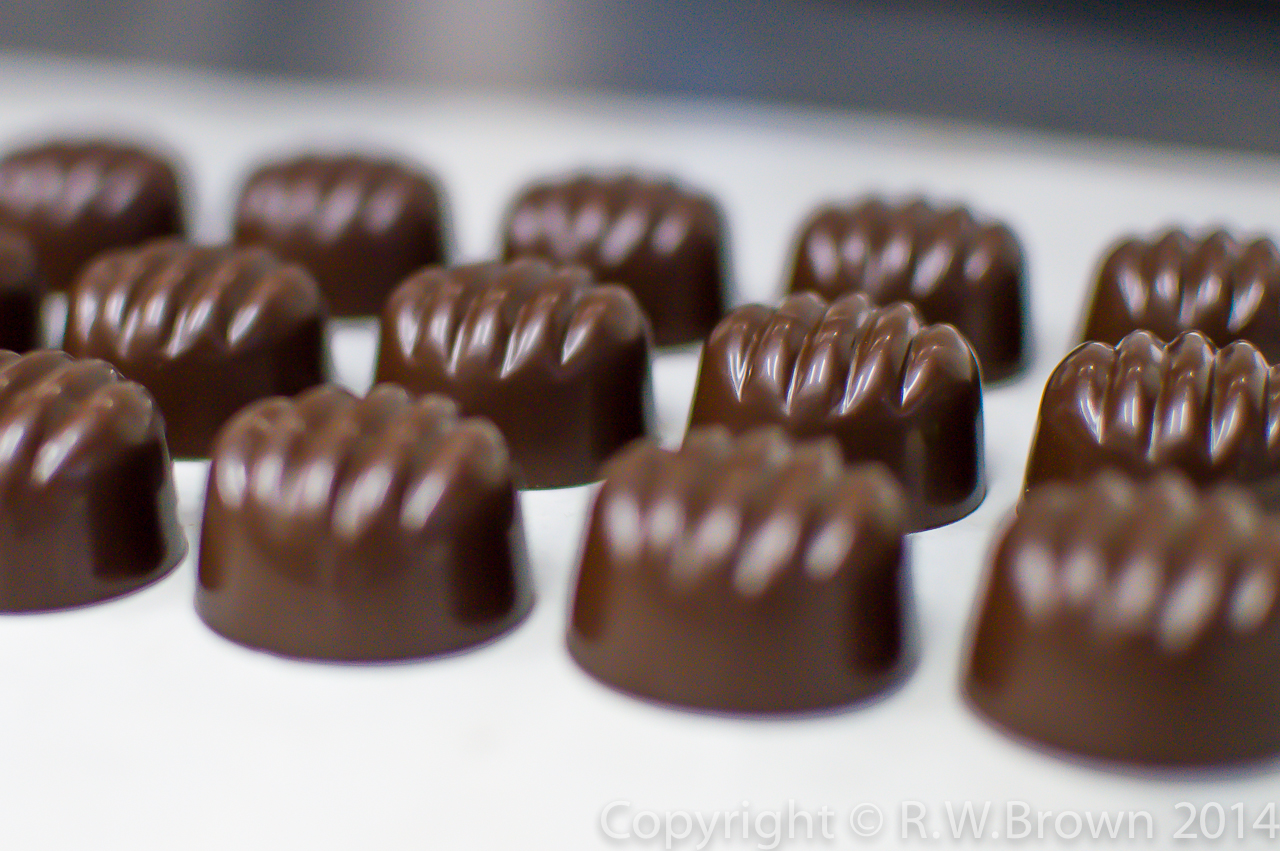
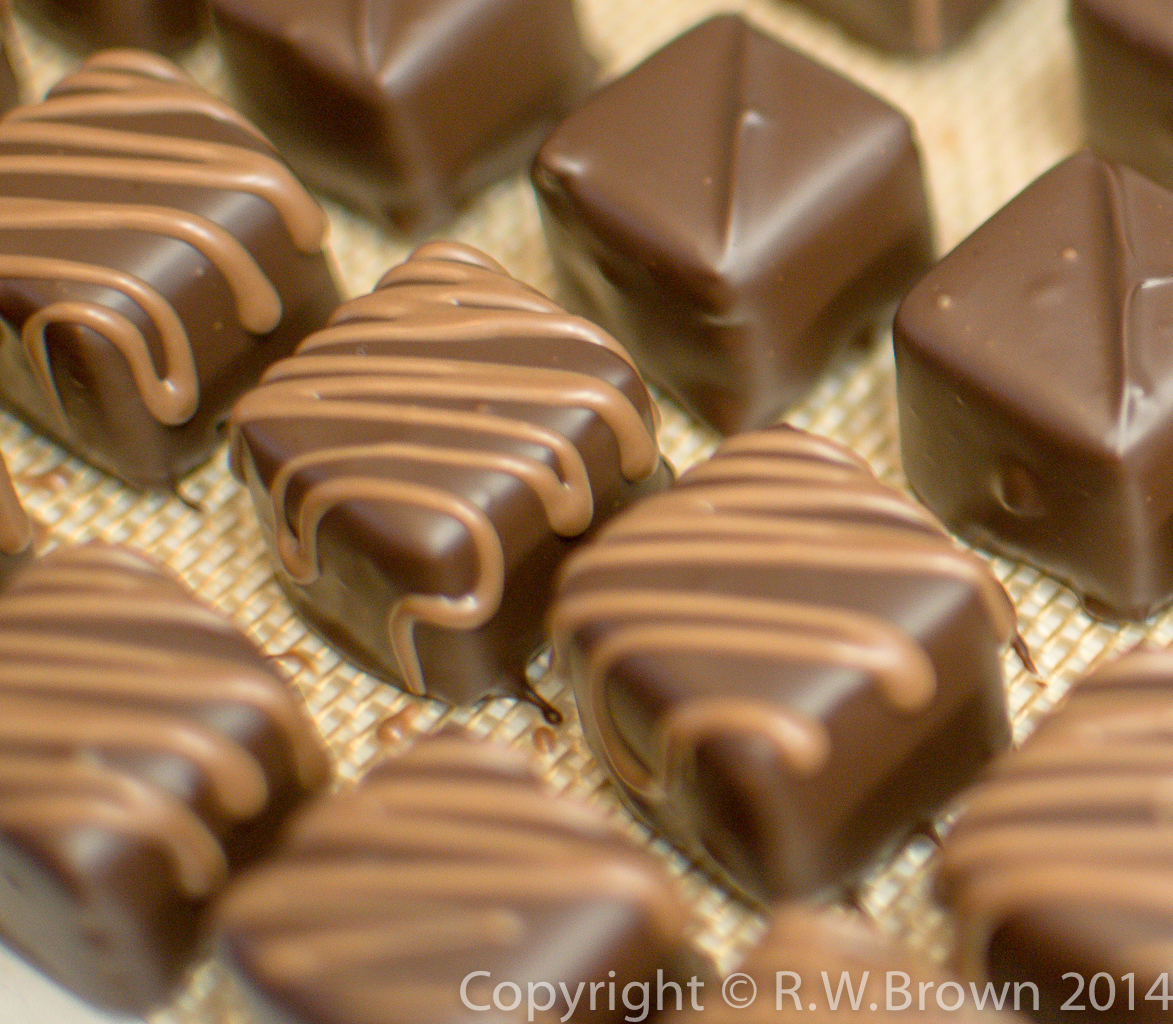
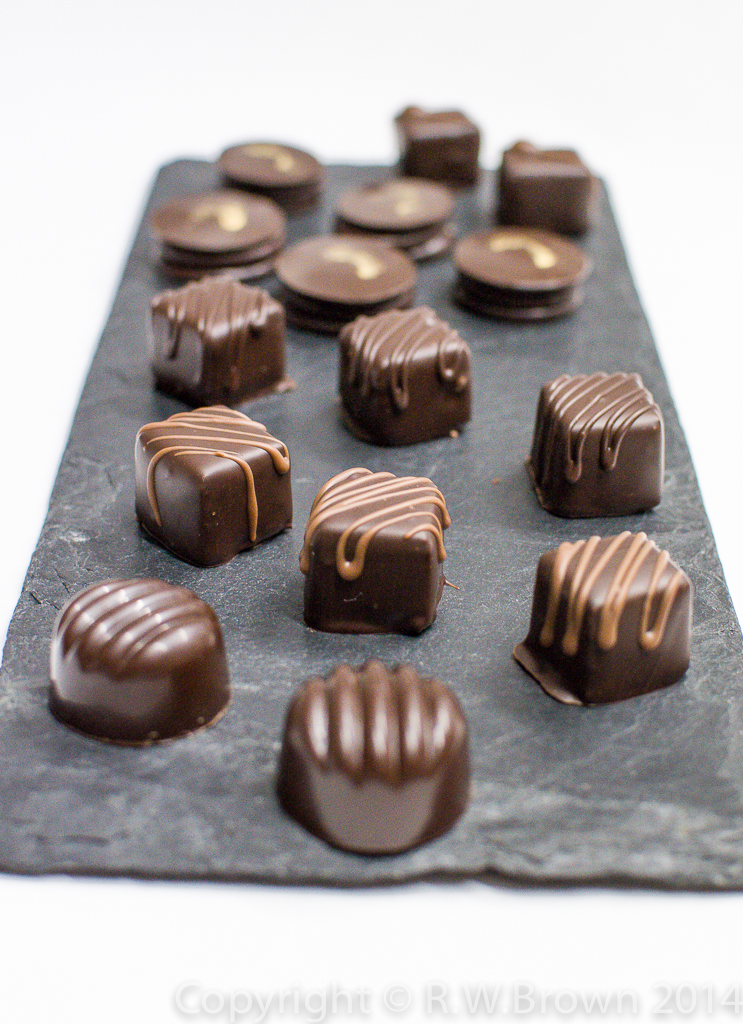
The dipped chocolates can be decorated in various ways; piped tempered chocolate, nuts or dried fruit added while the chocolate is still wet, gold leaf or lustre powders. One of the simplest ways is to mark the chocolates with the dipping fork. A single diagonal line across a chocolate looks very stylish.
Your choice of chocolate to work with will be very personal; most chefs have a preferred brand and cost will play a part. Valrhona, Cacao Barry and Callebaut are all popular choices and widely available. My primary choice is the premium range of couvertures from Chocovic imported into the UK by specialist Spanish food supplier Mediteria. All of these companies supply great chocolate, the most important thing is to choose something with a flavour profile that works with your centres or fillings.
Work flow is perhaps the real key to making chocolates in a less than ideal environment. If at all possible, make centres on one day, cut on the second day and dip on the third. If I was making a volume of moulded chocolates I would make shells one day, make ganache and fill the shells on the second day and back the shells off on the third day. Having said all that, if push comes to shove, it can all be done in a day!
http://baking911.com/learn/ingredients/chocolate/problems-and-solutions
http://www.ramonmorato.com/index.php?lng=en
http://www.valrhonapro.com/Accueil.aspx
http://www.callebaut.com/uken/
http://thermomix.vorwerk.co.uk
@Ramonmorato_
@Matkiwi
@Siennadorset